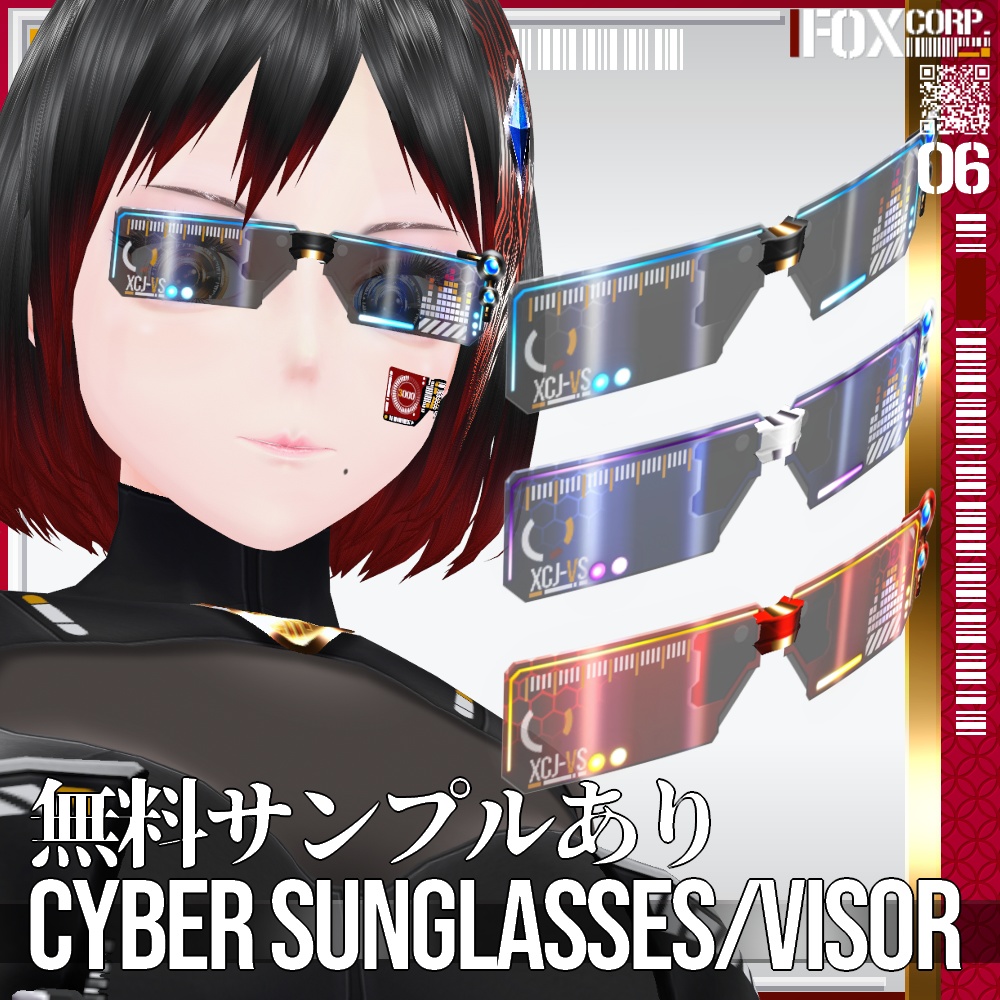
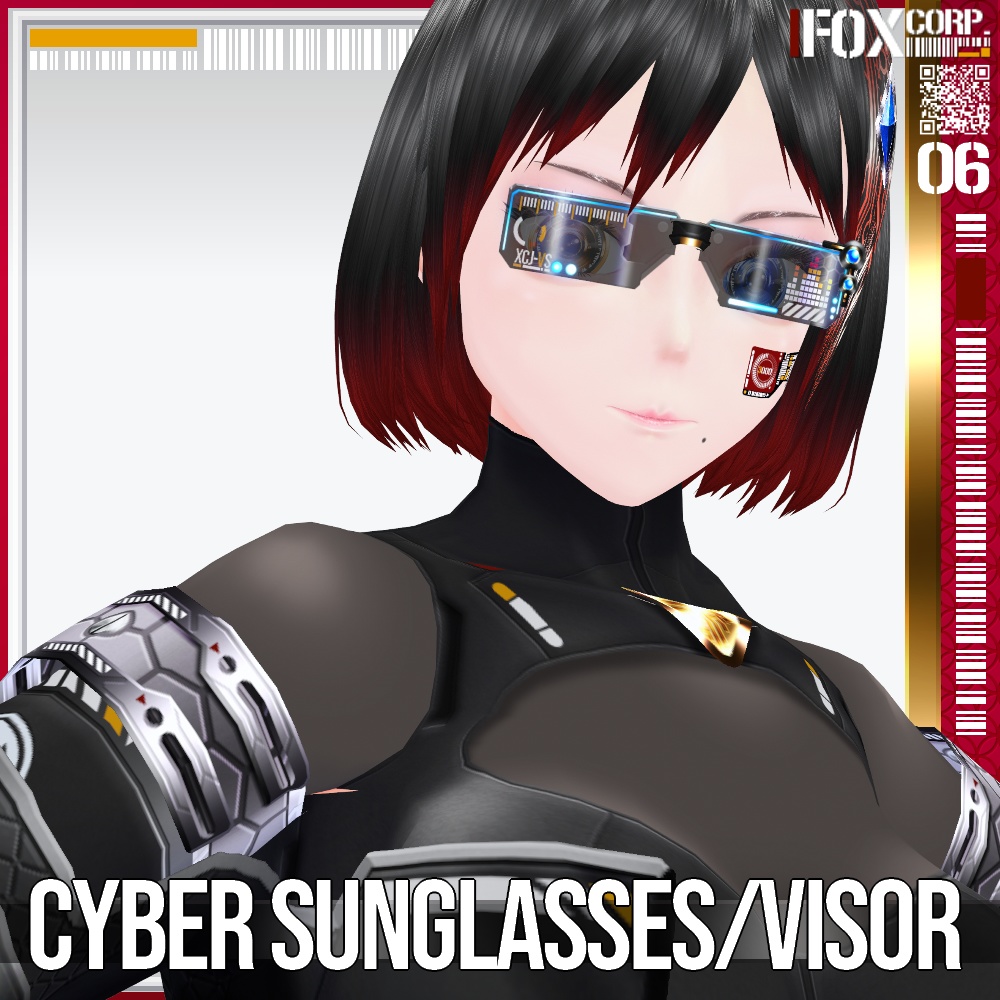
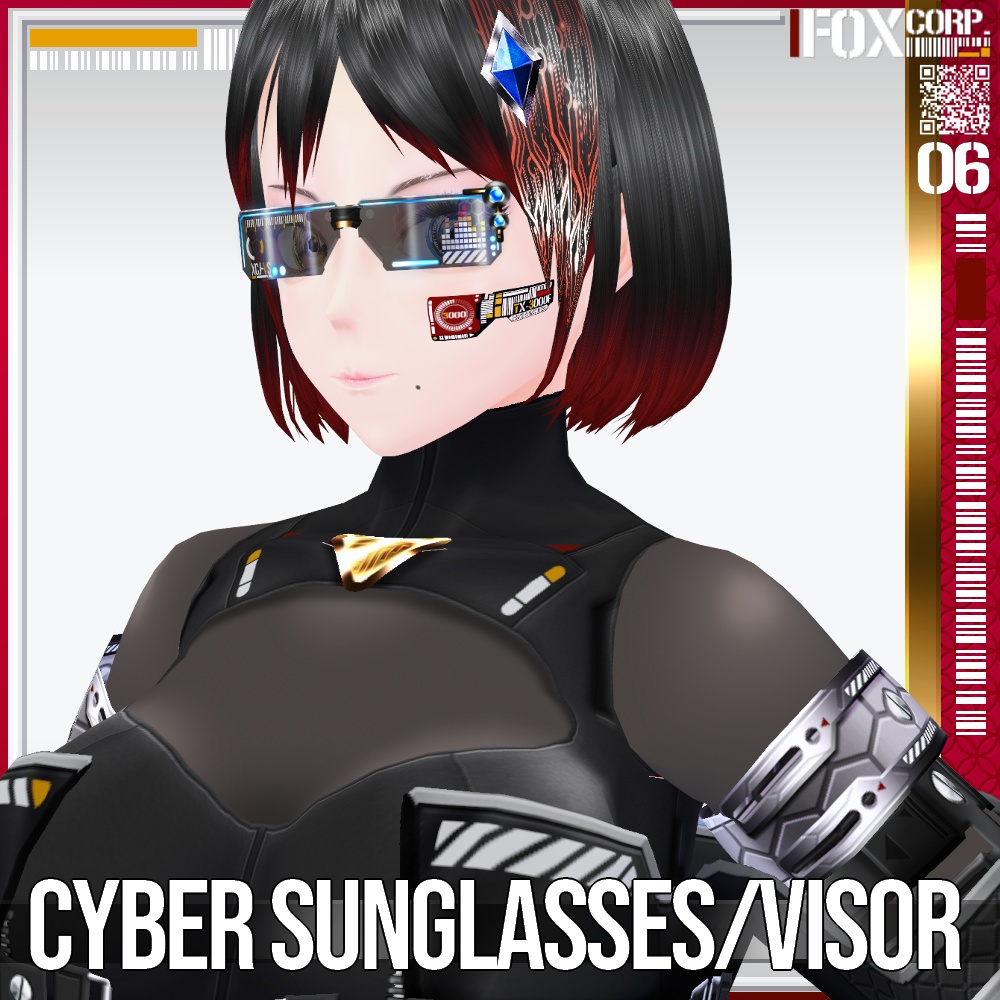
VRoid用 多色展開 サイバーサングラス/バイザー - Cyber Sunglasses/Visor
- ダウンロード商品無料版 (SAMPLE)¥ 0無料ダウンロードSample_CG.zip(2.56 MB)Sample_CG.zip
- ダウンロード商品有償 (PAID)¥ 330
- ダウンロード商品作成支援★ (Creation Support)¥ 580
- ダウンロード商品作成支援★★ (Creation Support)¥ 880
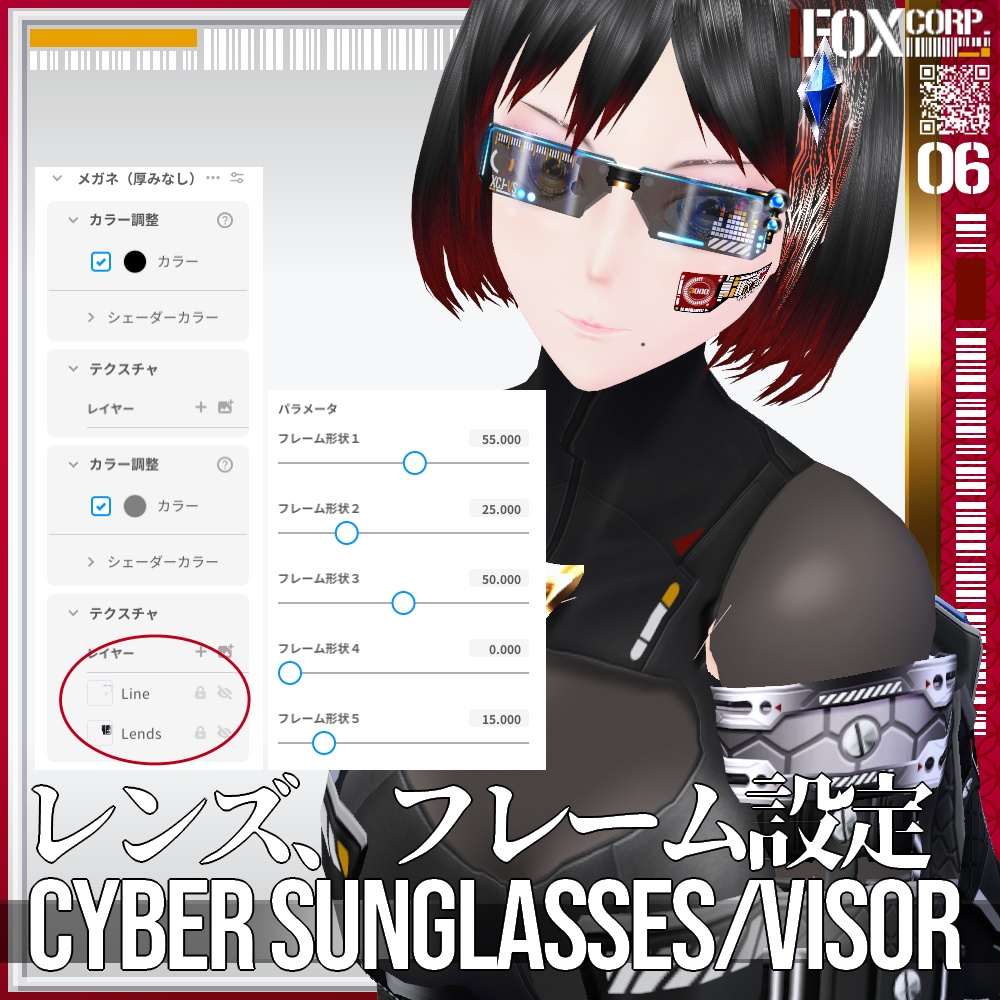
【説明】 VRoid用に作成したサイバーデザインのサングラス、もしくはバイザーです。レンズ及び発光部分が6色、中央および右センサー部分が5色 x ゴールドおよびシルバーで構成され、それぞれ自由に組み合わせることができます。 導入にはアクセサリー、メガネを4着使用します。以下の導入方法に従って導入してください。 【導入方法】 A:中央ブリッジを作成する ① メガネ(厚みあり)を作成し、テクスチャ編集からレンズテクスチャを削除、フレーム部分のテクスチャを入れ替える。 ② サムネイル3枚目を参考にステータス設定を変更、さらにブリッジを太くを100、フレームの厚くを100に設定する。 ③ 位置および大きさをいい感じに調節する。 B:レンズを設定する (右目側) ① メガネ(厚みなし)を作成し、テクスチャ編集からフレームテクスチャを削除、レンズ部分のテクスチャを Lendsフォルダ内 "カラー名_R.png" と入れ替える。 ② レンズテクスチャ右下、レイヤー不透明度を変更し、半透明にする。 ③ サムネイル3枚目を参考にレイヤーを2重にし、上側に発光ラインのテクスチャを Line フォルダ内 "カラー名_R.png" をインポートする。 ④ 大きさを変更後、移動させ A で作成したブリッジと接続する。 C:レンズを設定する (左目側) ① B で作成した右目レンズを複製し、同様の手順でテクスチャを入れ替えて左目側を作成、移動させてブリッジと接続する。 D:センサー部分を設定する ① C で作成した左目側レンズを複製し、レンズテクスチャを削除、ラインテクスチャを Sensor フォルダ内のテクスチャと入れ替える。 ② 位置を調整する。 ※ VRoid Studio のメガネ部分の不具合により、センサーの位置をレンズの手前側としても角度によってレンズの内側に表示されることがあります。.VRM 出力後は問題ありません。 ・商品説明以外のテクスチャは「含まれておりません」。お気に召しましたら、別途ご購入をご検討ください。 ・無償版はSAMPLEの透かしが入っています。まずはこちらで使用感をお試しください。 ・有償版および作成支援版2種類には内容の違いはございません。 【 最新情報等はこちら! Follow me on X : https://twitter.com/7799Fox 】 Description. Cyber-designed sunglasses or visor created for VRoid. The lenses and luminescent part consist of 6 colours, the central and right sensor part of 5 colours x gold and silver, each of which can be freely combined. Four accessories and four pairs of glasses are used for the installation. Please follow the installation instructions below. Installation instructions. A: Create the central bridge. (1) Create a pair of glasses (with thickness), delete the lens texture from the texture editor and replace the texture of the frame part. (2) Change the status setting with reference to the third thumbnail, and furthermore, set the bridge thicker to 100 and the frame thicker to 100. (3) Adjust the position and size to a good level. B: Setting the lens (right eye side) (1) Create a pair of glasses (no thickness), delete the frame texture from the texture editor and replace the lens texture with "Colour name_R.png" in the Lends folder. (2) Change the layer opacity at the bottom right of the lens texture and make it translucent. (3) Double the layer with reference to the third thumbnail, and import "Colour name_R.png" in the Line folder for the texture of the emission lines on the upper side. (4) After changing the size, move it and connect it to the bridge created in step A. C: Setting the lens (left eye side) (1) Duplicate the right eye lens created in step B, replace the texture in the same way, create the left eye side, move it and connect it to the bridge. D: Set the sensor part. (1) Duplicate the left eye lens created in step C, delete the lends texture and replace the line texture with the texture in the Sensor folder. (2) Adjust the position. Due to a defect in the glasses part of VRoid Studio, the sensor position may be displayed inside the lens depending on the angle, even if the sensor position is on the front side of the lens. There is no problem after VRM output. Textures other than those in the product description are not included. If you like it, please consider purchasing it separately. The free version has a SAMPLE watermark. Please try this first to get a feel for the product. There is no difference in content between the paid version and the Creation Support Edition. For the latest information, click here! Follow me on X : https://twitter.com/7799Fox ]
【利用規約】
・著作権は放棄しておりません。 ・商用、個人を問わずご利用いただけます。 ・R15、R18を問わずご利用いただけます。 ・自由に改変いただけます。 ・改変の有無、有償、無償を問わず再配布は禁止します。 ・DLが可能な状態でのモデルデータへの使用は禁止します。 ・VRoid Hub等へ使用されたモデルをアップロードされる場合にはクレジットの表記をいただけると喜びます。 ・テクスチャを使用したモデルでの迷惑行為、中傷行為及び違法行為等を禁止します。 ・当方の許可なく作成テクスチャそのものや、テクスチャを使用したイメージ等をAI画像生成ツール等の学習に使用したり、i2iとして使用することは禁止します。
[ Terms of Service ]
・ Copyright is not waived. ・ It can be used by both commercial and individual users. ・ It can be used regardless of R15 or R18. ・ You can freely modify. ・ Redistribution is prohibited regardless of whether it has been modified, paid or free of charge. ・It is prohibited to use it for model data when DL is possible. ・ When uploading the model used to VRoid Hub etc., we would be grateful if you could indicate the credit. ・ It is prohibited to harass, slander or illegally act on the model using texture. ・ Without my permission, images using the created textures may not be used for training AI image generation tools, etc., or used as i2i.