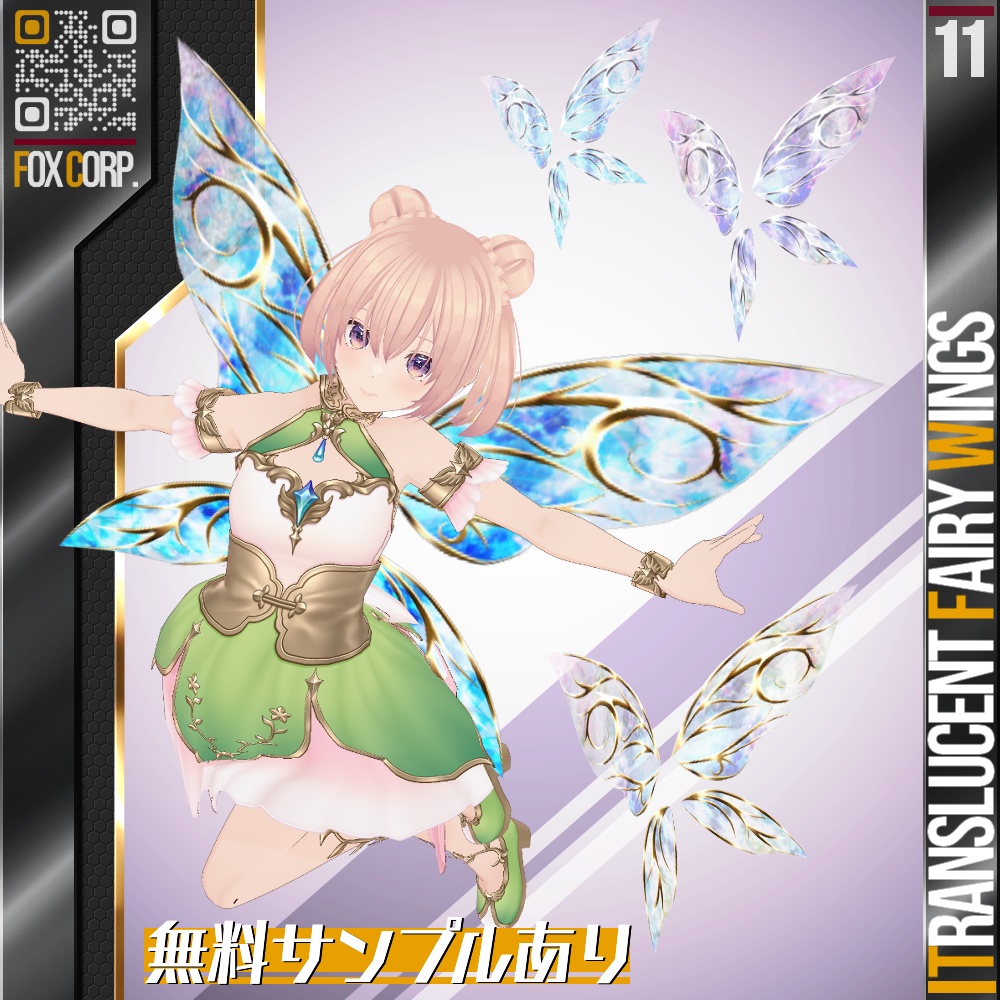
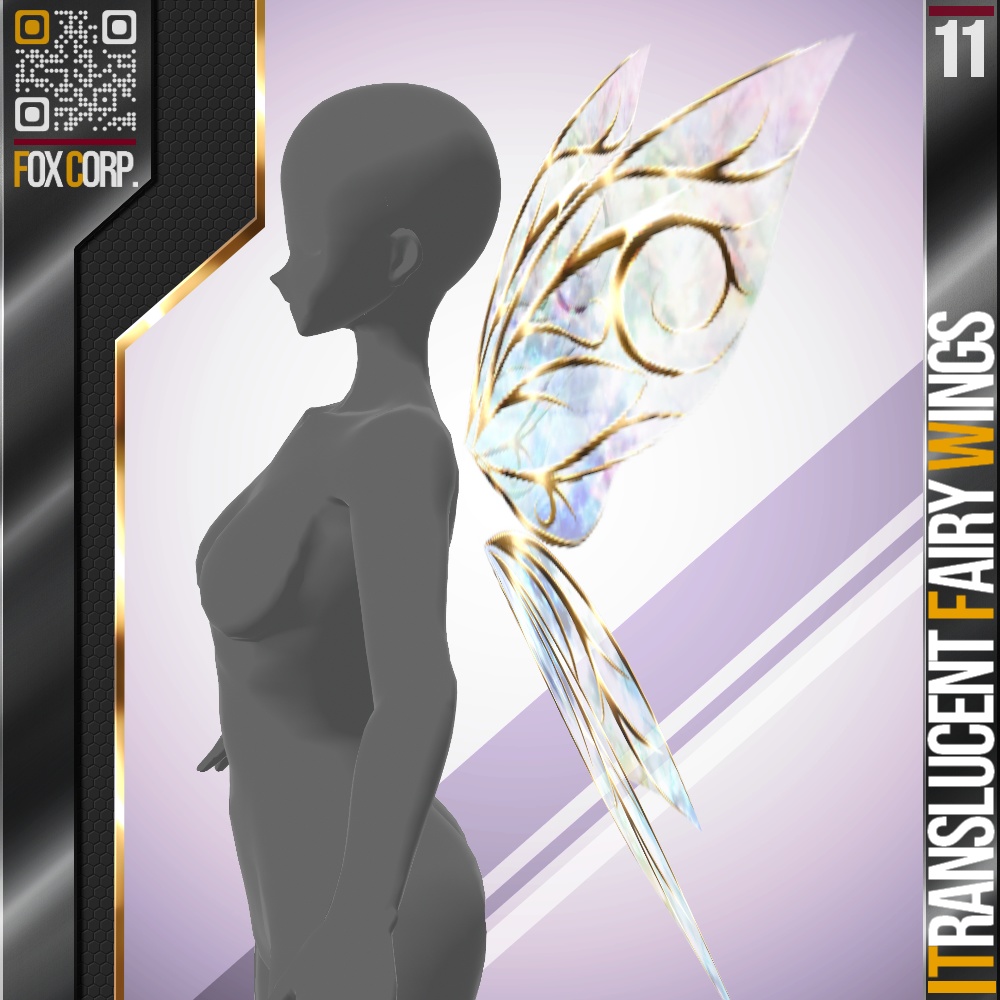
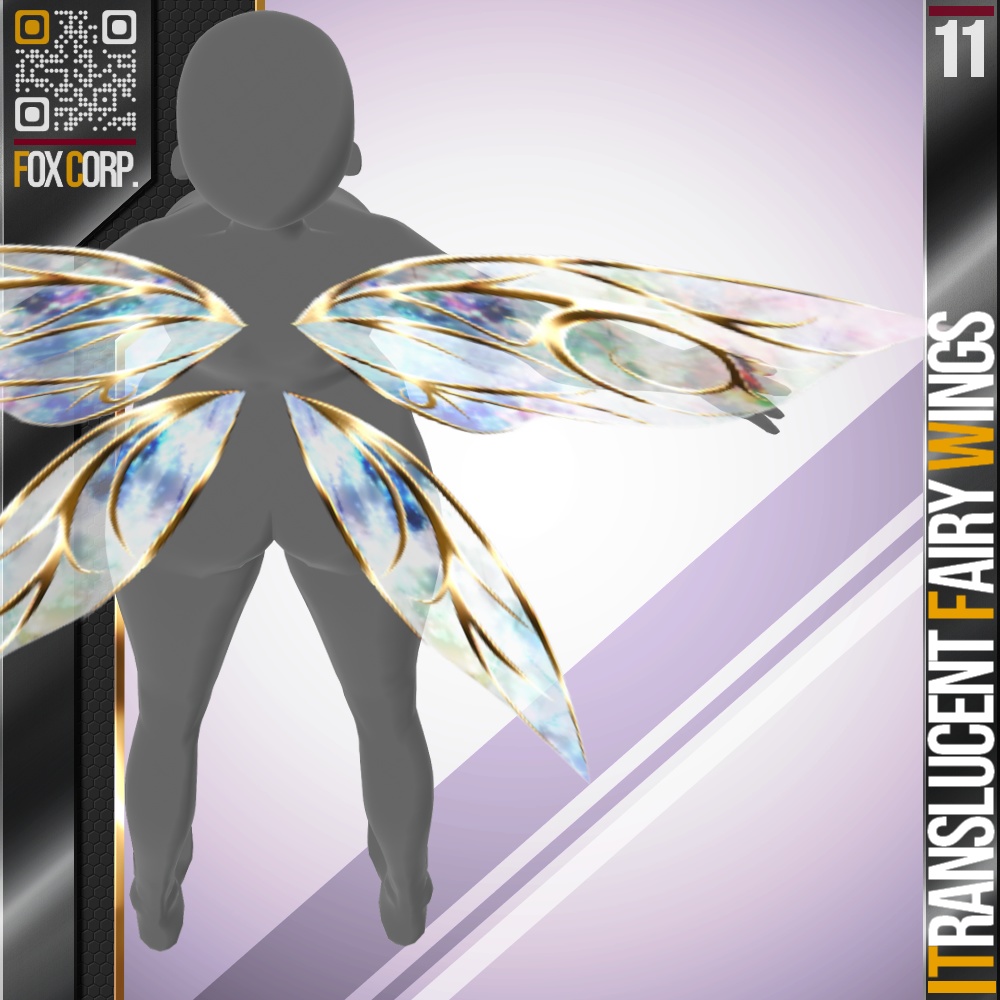
VRoid用 多色展開 透過妖精の羽根 - Translucent Fairy Wings
- ダウンロード商品無料版 (SAMPLE)¥ 0
- ダウンロード商品有償 (PAID)¥ 330
- ダウンロード商品作成支援★ (Creation Support)¥ 580
- ダウンロード商品作成支援★★ (Creation Support+)¥ 880
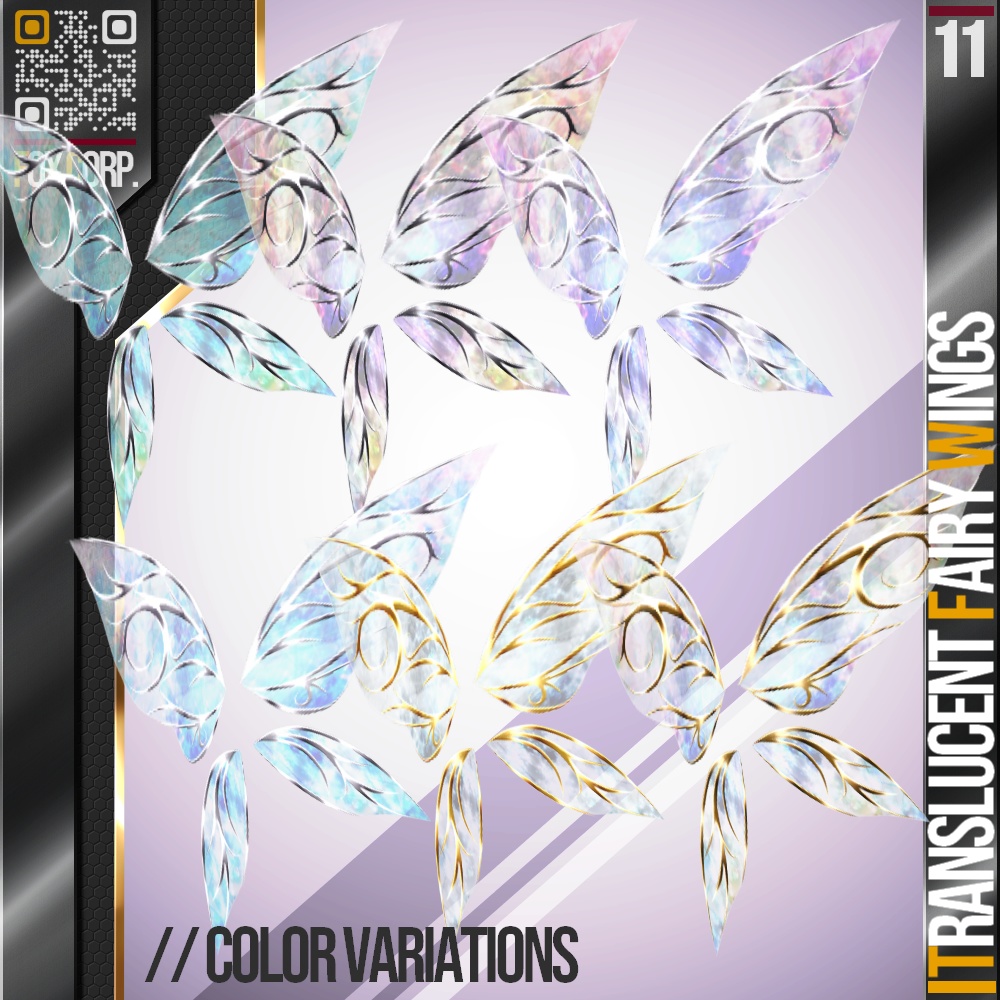
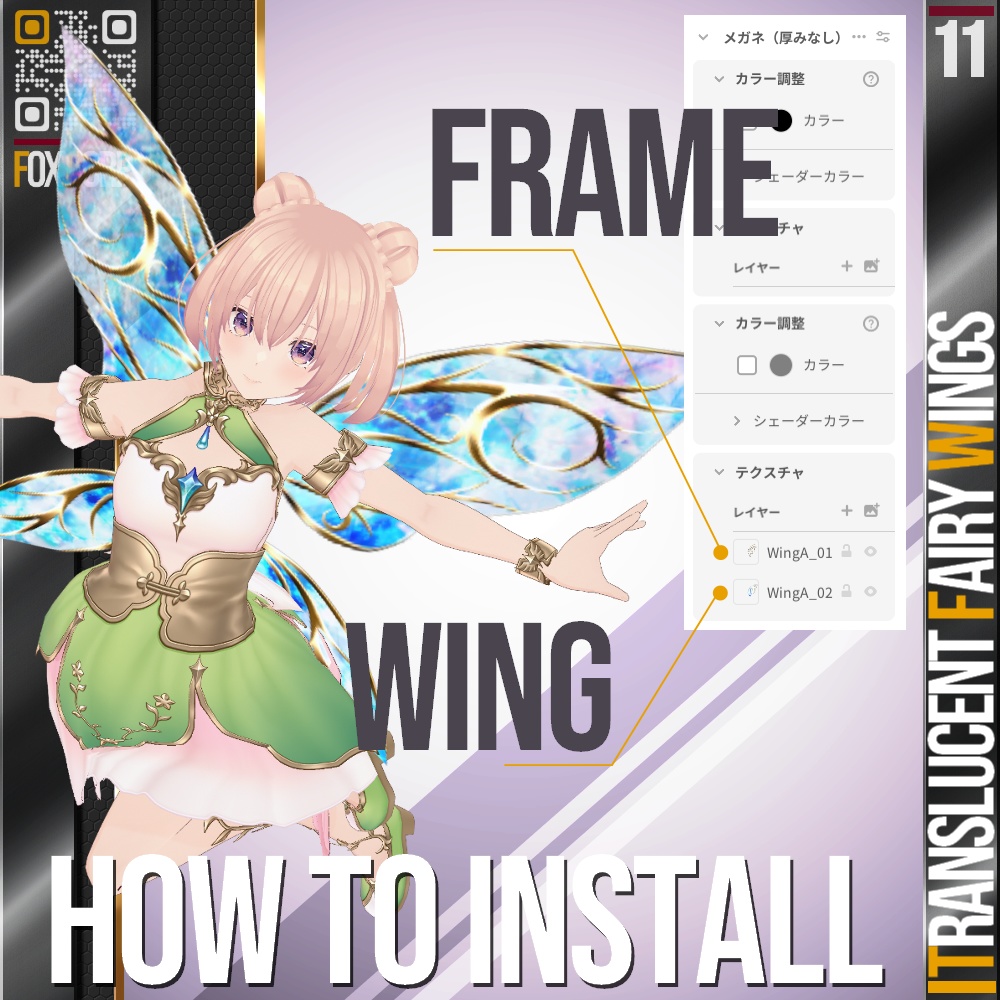
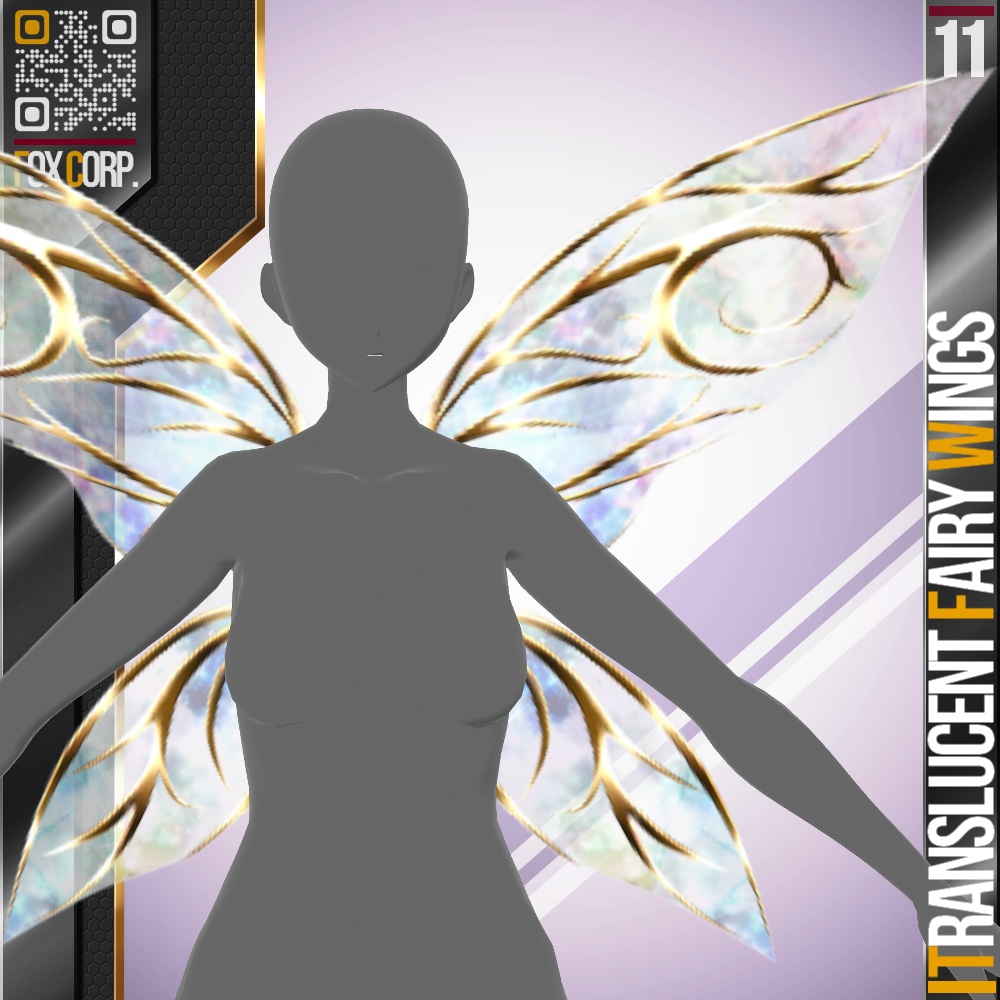
【説明】 VRoid用メガネを利用した半透過の妖精の羽根です。フレーム部分が4色、羽部分が6色で構成され自由に組み合わせることができるほか、羽部分の透明度を変更することができます。眼鏡で作成されているため、頭に合わせて稼働します。また、そのため引き延ばしすぎると画像がぼやけます、予めご了承ください。 アクセサリーであるため、.vroidcustom ファイルが付属しません。以下のインストール手順およびサムネイル4枚目を参考にご自身でセットアップしてください。 1) メガネ(厚み無し) を作成する。 2) テクスチャ編集にうつり、フレーム部分のテクスチャを削除。レンズ部分にサムネイル4枚目を参考に上にフレーム、下に羽部分となるようにファイルをインポートする。羽部分の透明度を右下「レイヤー不透明度」を変更して調整する。(Wing*_01 がフレーム、Wing*_02が羽用ファイルとなります) 3) 位置と大きさを調節する。大きくしすぎると画像がぼやけます、予めご了承ください。 4) 3で作成した羽を複製し、位置を調整する。 5) 1~4 の手順を下羽についても同様に行う。 創作活動の励みになりますので、是非【♥】を押してください! ・商品説明以外のテクスチャは「含まれておりません」。お気に召しましたら、別途ご購入をご検討ください。 ・無償版はSAMPLEの透かしが入っています。まずはこちらで使用感をお試しください。 ・有償版および作成支援版2種類には内容の違いはございません。 【 最新情報等はこちら! Follow me on X : https://twitter.com/7799Fox 】 【Description】 These are semi-transparent fairy wings utilizing VRoid glasses. The frame comes in 4 colors and the wings in 6 colors, allowing for free combinations. You can also adjust the transparency of the wing sections. Since they are created using glasses, they move in sync with your head. As this is an accessory, it does not include an .Vroidcustom file. Please set it up yourself using the installation steps below and the 4th thumbnail as a reference. 1) Create glasses (no thickness). 2) Switch to texture editing and delete the frame texture. Import files for the lens section, referencing the fourth thumbnail: place the frame on top and the feather section below. Adjust the feather section's transparency using the “Layer Opacity” slider in the bottom right. (Wing*_01 is the frame file, Wing*_02 is the feather file). 3) Adjust the position and size. Please note that making them too large will blur the image. 4) Duplicate the wing created in step 3 and adjust its position. 5) Repeat steps 1-4 for the lower wing. Your support encourages my creative work, so please click the 【♥】! ・Textures other than those described in the product details are NOT included. If you like them, please consider purchasing them separately. ・The free version contains a SAMPLE watermark. Please try it out first to see how it feels. ・There is no difference in content between the paid version and the two creation support versions. 【 Latest updates here! Follow me on X : https://twitter.com/7799Fox 】
【利用規約】
・著作権は放棄しておりません。 ・商用、個人を問わずご利用いただけます。 ・R15、R18を問わずご利用いただけます。 ・自由に改変いただけます。 ・改変の有無、有償、無償を問わず再配布は禁止します。 ・DLが可能な状態でのモデルデータへの使用は禁止します。 ・VRoid Hub等へ使用されたモデルをアップロードされる場合にはクレジットの表記をいただけると喜びます。 ・テクスチャを使用したモデルでの迷惑行為、中傷行為及び違法行為等を禁止します。 ・当方の許可なく作成テクスチャそのものや、テクスチャを使用したイメージ等をAI画像生成ツール等の学習に使用したり、i2iとして使用することは禁止します。
[ Terms of Service ]
・ Copyright is not waived. ・ It can be used by both commercial and individual users. ・ It can be used regardless of R15 or R18. ・ You can freely modify. ・ Redistribution is prohibited regardless of whether it has been modified, paid or free of charge. ・It is prohibited to use it for model data when DL is possible. ・ When uploading the model used to VRoid Hub etc., we would be grateful if you could indicate the credit. ・ It is prohibited to harass, slander or illegally act on the model using texture. ・ Without my permission, images using the created textures may not be used for training AI image generation tools, etc., or used as i2i.